double pinwheel tutorial


I'm not the inventor of this block, in fact, I've seen it lots of places. The one place I saw it and really fell for it is a quilt that I purchased from my friend, Cindy.
It's really great (and as soon as I find the darn picture, I'll post that).
So this is tutorial for my annual block exchange.
Here's what you need:
4 pieces of white fabric (4X6)
4 pieces of white fabric (2X6)
4 prints (4X6)*
4 prints (2X6)*
*I like to use different prints to make it scrappy
Sew the 4X6 whites to the 2X6 prints (as shown below)


Separate into piles, press and trim to 5.5" squares
(most of the trimming will be done cutting across both fabrics)

Cut the pieced square diagonally

Be sure to cut some this way, and some the other (so your triangles match up) into squares and you don't end up with triangles that go all the same way (NB: experience is probably the best teacher here but I'm trying).

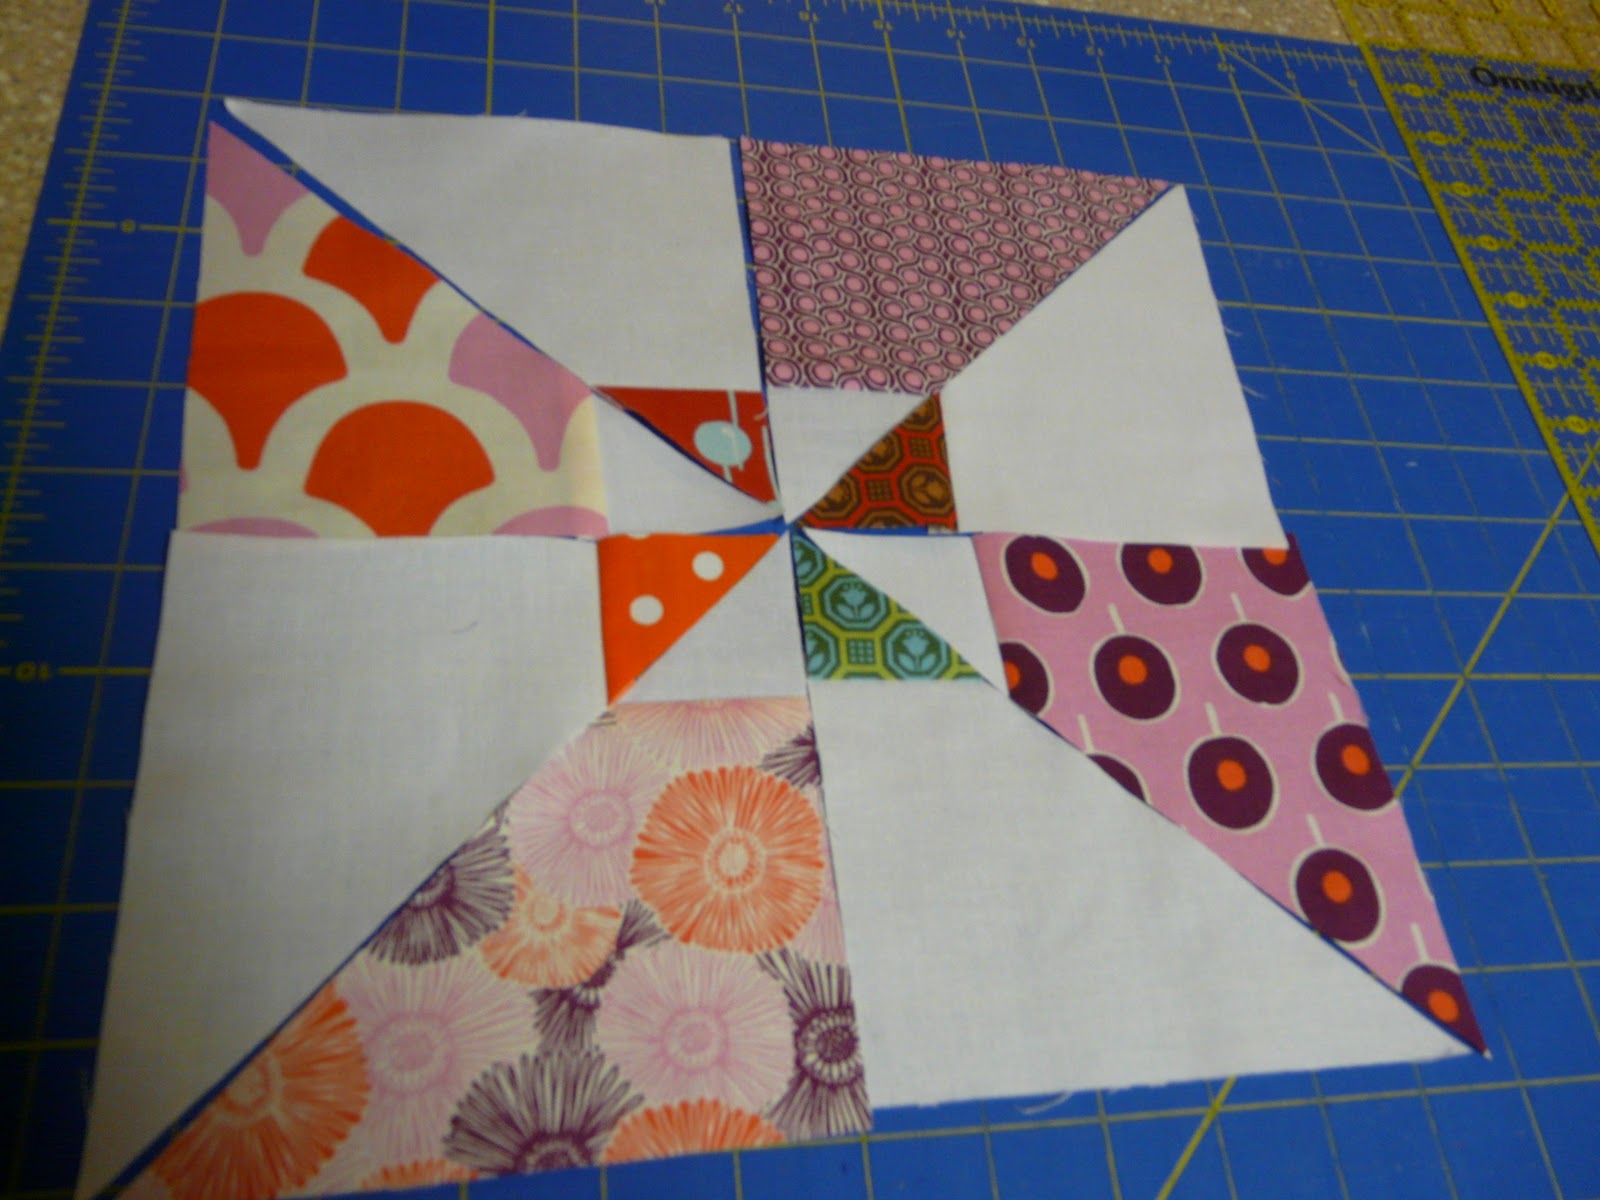
Layout your blocks like this:

Then, add the other pieces (the ones you cut on the opposite diagonal)
Like this:
Yep, I had to go back and make some more (I mean cut some the other way too).
Sew along the diagonal lines to make blocks, then piece as a four-patch.
This makes one block that will make a top like this:

DON'T throw those extra pieces away. We can make another block with them
(yes, I am going to make you wait to show you that one ... only because I still have to put it together!)
Next up: Cherry House's Quilt A Long (with an ulterior motive).


Comments